Up one level The Log Rover Project » Other motors » 1961 Rover P4 » Technical
Technical
Shots of the various repairs and modifications which will no doubt take place

Previous page Next page 257-288 (of 614 found)
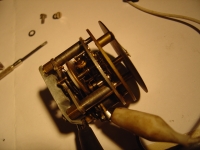
 Postnote - when checked with a GPS it was over-reading by about 10 miles per hour - so when i opened up again i saw a notch in the silver disk (just up from the crocodile clip in the pic) - which the hand should be re-aligned to. Was spot on after that.

Postnote - when checked with a GPS it was over-reading by about 10 miles per hour - so when i opened up again i saw a notch in the silver disk (just up from the crocodile clip in the pic) - which the hand should be re-aligned to. Was spot on after that.

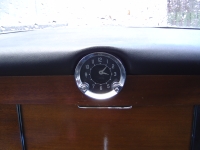
 this is the clock in our P4. Looks ok, but...

this is the clock in our P4. Looks ok, but...

 the previous owner has ripped the orignal out, butchered a cheap battery travel clock, stuck the old face on and held the glass section in with some blu-tak.

the previous owner has ripped the orignal out, butchered a cheap battery travel clock, stuck the old face on and held the glass section in with some blu-tak.

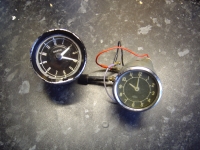
 these are two old non-functioning clocks donated to see if they can be repaired

these are two old non-functioning clocks donated to see if they can be repaired

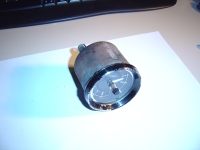
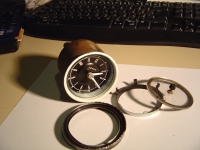
 started with the Kienzle clock first - someone had already been inside judging by the bezel

started with the Kienzle clock first - someone had already been inside judging by the bezel

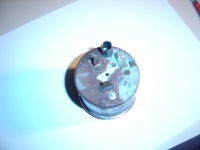
 undo the three nuts on the back (5mm)

undo the three nuts on the back (5mm)

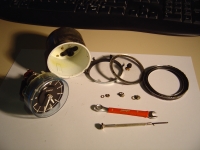
 prise off the bezel (doesn't untwist like others)

prise off the bezel (doesn't untwist like others)

 push mechanism out once the bolts undone

push mechanism out once the bolts undone

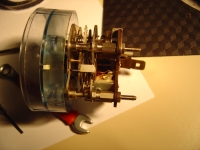
 some electrical bits at the back and lots of mechanical bits. seems the principle is that an electromagnet causes a disc to move, which returns under spring pressure, eventually closing some points after a minute or two, which restarts the process

some electrical bits at the back and lots of mechanical bits. seems the principle is that an electromagnet causes a disc to move, which returns under spring pressure, eventually closing some points after a minute or two, which restarts the process

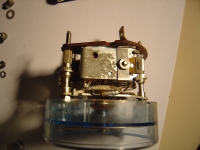
 those blobs of solder and a thin wire have been added previously. there should be a low temp solder conenction there which fails if a short occurs. this has been soldered back up in a heavy duty manner

those blobs of solder and a thin wire have been added previously. there should be a low temp solder conenction there which fails if a short occurs. this has been soldered back up in a heavy duty manner

 which probably meant next time something was failing, the fuse didn't release, and this resistor overheated, and melted that white drive wheel in the middle...

which probably meant next time something was failing, the fuse didn't release, and this resistor overheated, and melted that white drive wheel in the middle...

 the late friday night test bed.... better than a freezing garage

the late friday night test bed.... better than a freezing garage

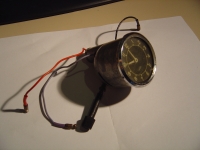
 now the turn of the Smiths clock

now the turn of the Smiths clock

 removed bezel and mechanism

removed bezel and mechanism

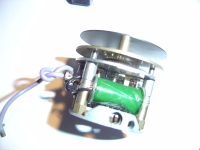
 large coil visible

large coil visible

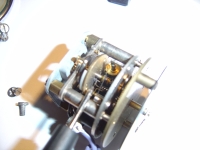
 pointer showing carbon dust where the contact hairsping meets the impulse pin on the balance wheel

pointer showing carbon dust where the contact hairsping meets the impulse pin on the balance wheel

 look right in the centre and you can just make out a spark where the spring is hitting the pin

look right in the centre and you can just make out a spark where the spring is hitting the pin

 needed to sharpen a screwdriver to get into these narrow slotted screws

needed to sharpen a screwdriver to get into these narrow slotted screws

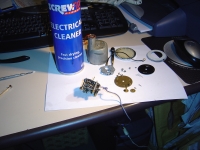
 electrical cleaner helped free things up

electrical cleaner helped free things up

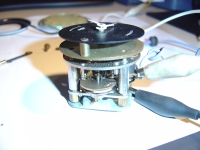
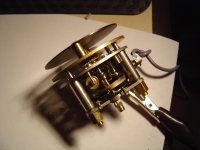
 the balance wheel is spining freely here - slightly blurred in the shot

the balance wheel is spining freely here - slightly blurred in the shot

 the

the "n" shaped contact spring in the middle is the one that needed the adjustment. now working ok.

 Four new radial tyres 185/80/15 and a

Four new radial tyres 185/80/15 and a "space-saver" spare of 165/80/15

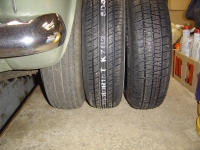
 comparing two new ones with an old crossply Avon as fitted

comparing two new ones with an old crossply Avon as fitted

 previous owner fitted wheelarch liner

previous owner fitted wheelarch liner

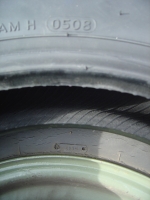
 perished sidewalls

perished sidewalls

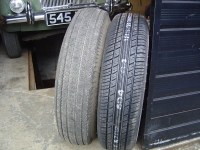
 old and new

old and new

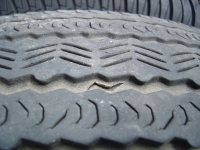
 old tread begining to delaminate

old tread begining to delaminate

 new tyre date on top (5th week of 2008) and old below (4th week of 1981... 27years old !)

new tyre date on top (5th week of 2008) and old below (4th week of 1981... 27years old !)

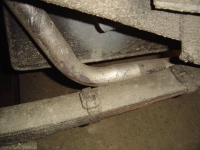
 evidence of where spring band had been rubbing on the exhaust

evidence of where spring band had been rubbing on the exhaust

Page 9 of 20 Next page